What to Expect During Your Fibreglass Pool Installation
A week-by-week guide to the fibreglass pool installation process in Greater Sydney — from excavation to your first swim.
Your Pool Installation: Week by Week
Installing a fibreglass pool is an exciting process — but it can also be stressful if you don't know what to expect. This guide walks you through the typical installation timeline for a fibreglass pool in Greater Sydney.
Before Installation Begins
Before the excavator arrives, several things need to happen:
Approval: Your CDC must be issued (typically 10–20 days after lodgement). Construction cannot legally begin without approval.
Dial Before You Dig: Underground services must be located before excavation. Your installer should arrange this — it's a legal requirement.
Site preparation: Clear the area of any obstacles. Your installer will advise on what needs to be removed or protected.
Week 1: Excavation
The first physical work on your pool is excavation. A mini excavator digs the hole to the precise dimensions required for your pool shell, plus additional space for backfilling.
What to expect:
- Significant noise and disruption for 1–3 days
- 15–30 cubic metres of soil removed from site
- The excavated area will look much larger than your pool — this is normal
Week 1–2: Shell Installation Day
This is the most dramatic day of the entire build. Your fibreglass pool shell arrives on a truck and is craned into the excavated hole.
The process typically takes a full day and involves:
- Crane setup (may require temporary road closure)
- Lifting and positioning the shell
- Initial levelling and adjustment
- Beginning the backfilling process
- Filling the pool with water to maintain the shell's shape
Weeks 2–3: Plumbing & Equipment
After the shell is in position, the plumbing team installs all the pipes connecting the pool to the equipment pad. The equipment pad is constructed and your pump, filter, salt chlorinator, and any optional extras are installed.
This stage takes 2–5 days and involves:
- Trenching for pipes
- Plumbing connections
- Equipment pad construction
- Equipment installation and testing
Weeks 3–5: Concreting
The concrete surrounds are formed and poured. This is a multi-day process:
- Day 1: Formwork (timber frames) set up
- Day 2: Concrete poured
- Days 3–7: Concrete curing (cannot be walked on)
- Day 7+: Formwork removed, finishing work
Weather is a significant factor at this stage — concrete cannot be poured in rain.
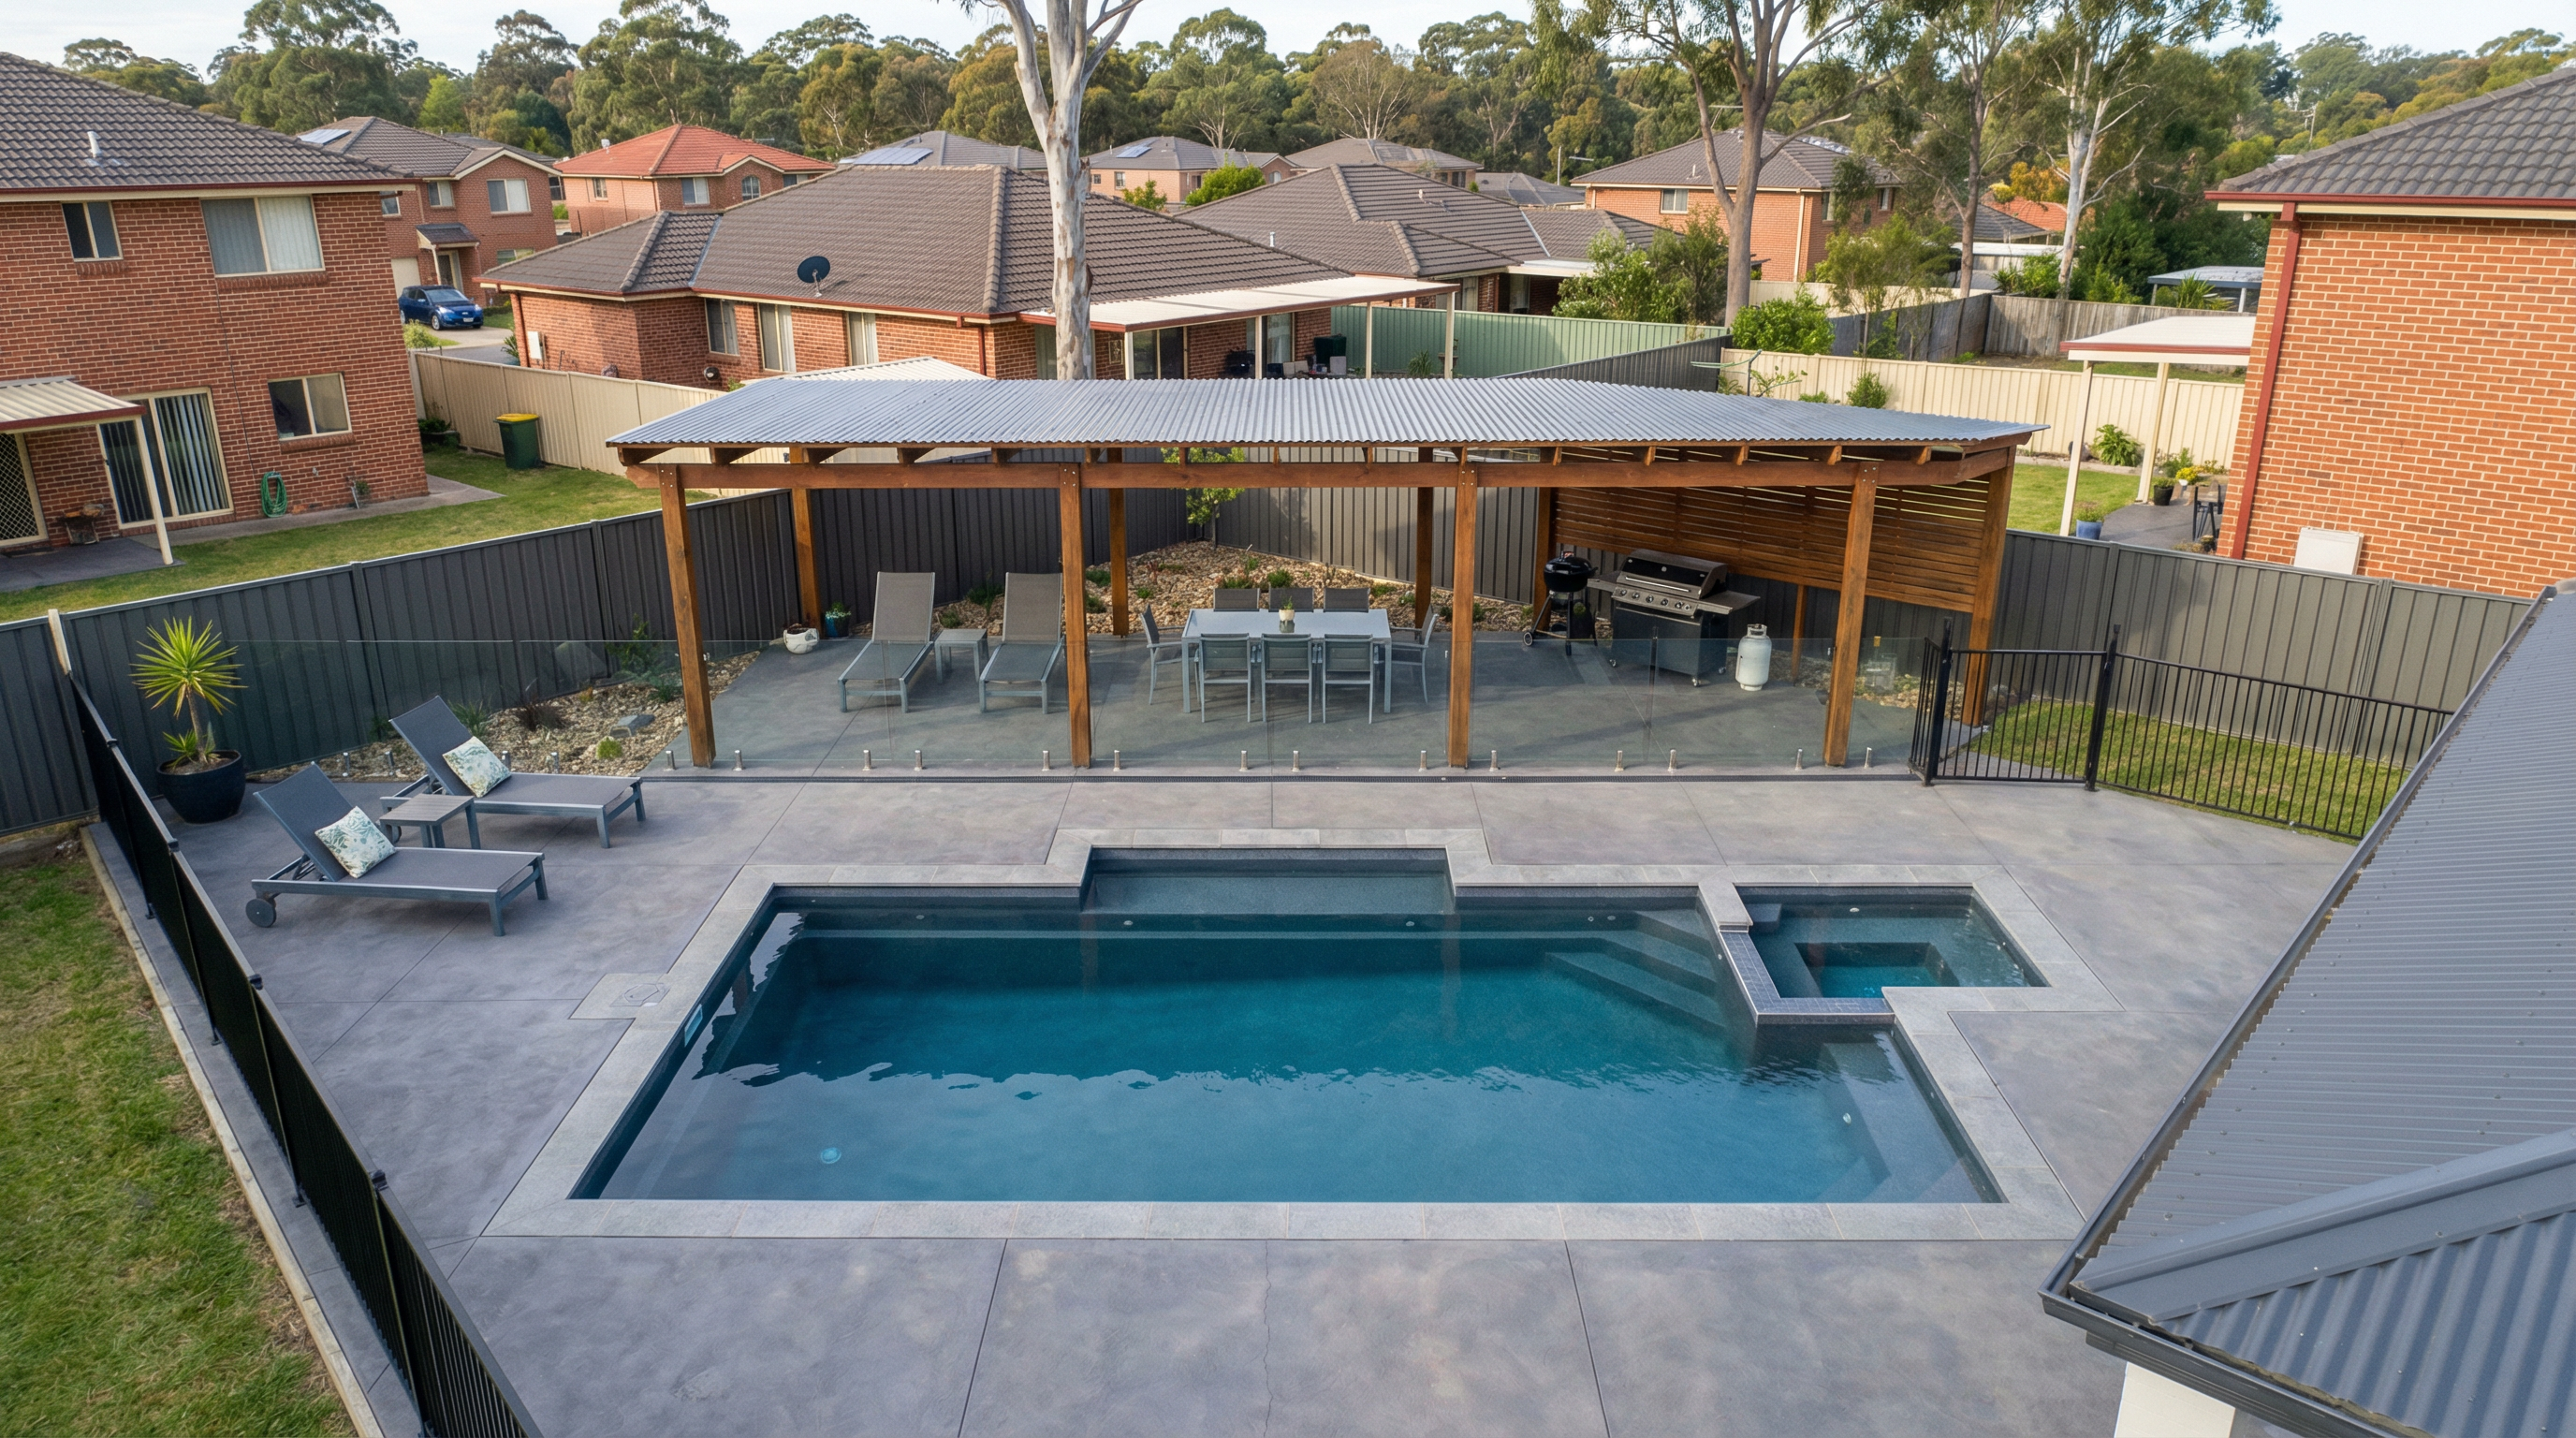
Weeks 4–6: Fencing & Finishing
Pool fencing is installed and inspected by the certifier. Any remaining finishing work is completed, including:
- Pool fencing installation
- Certifier inspection
- Final equipment testing
- Water chemistry balancing
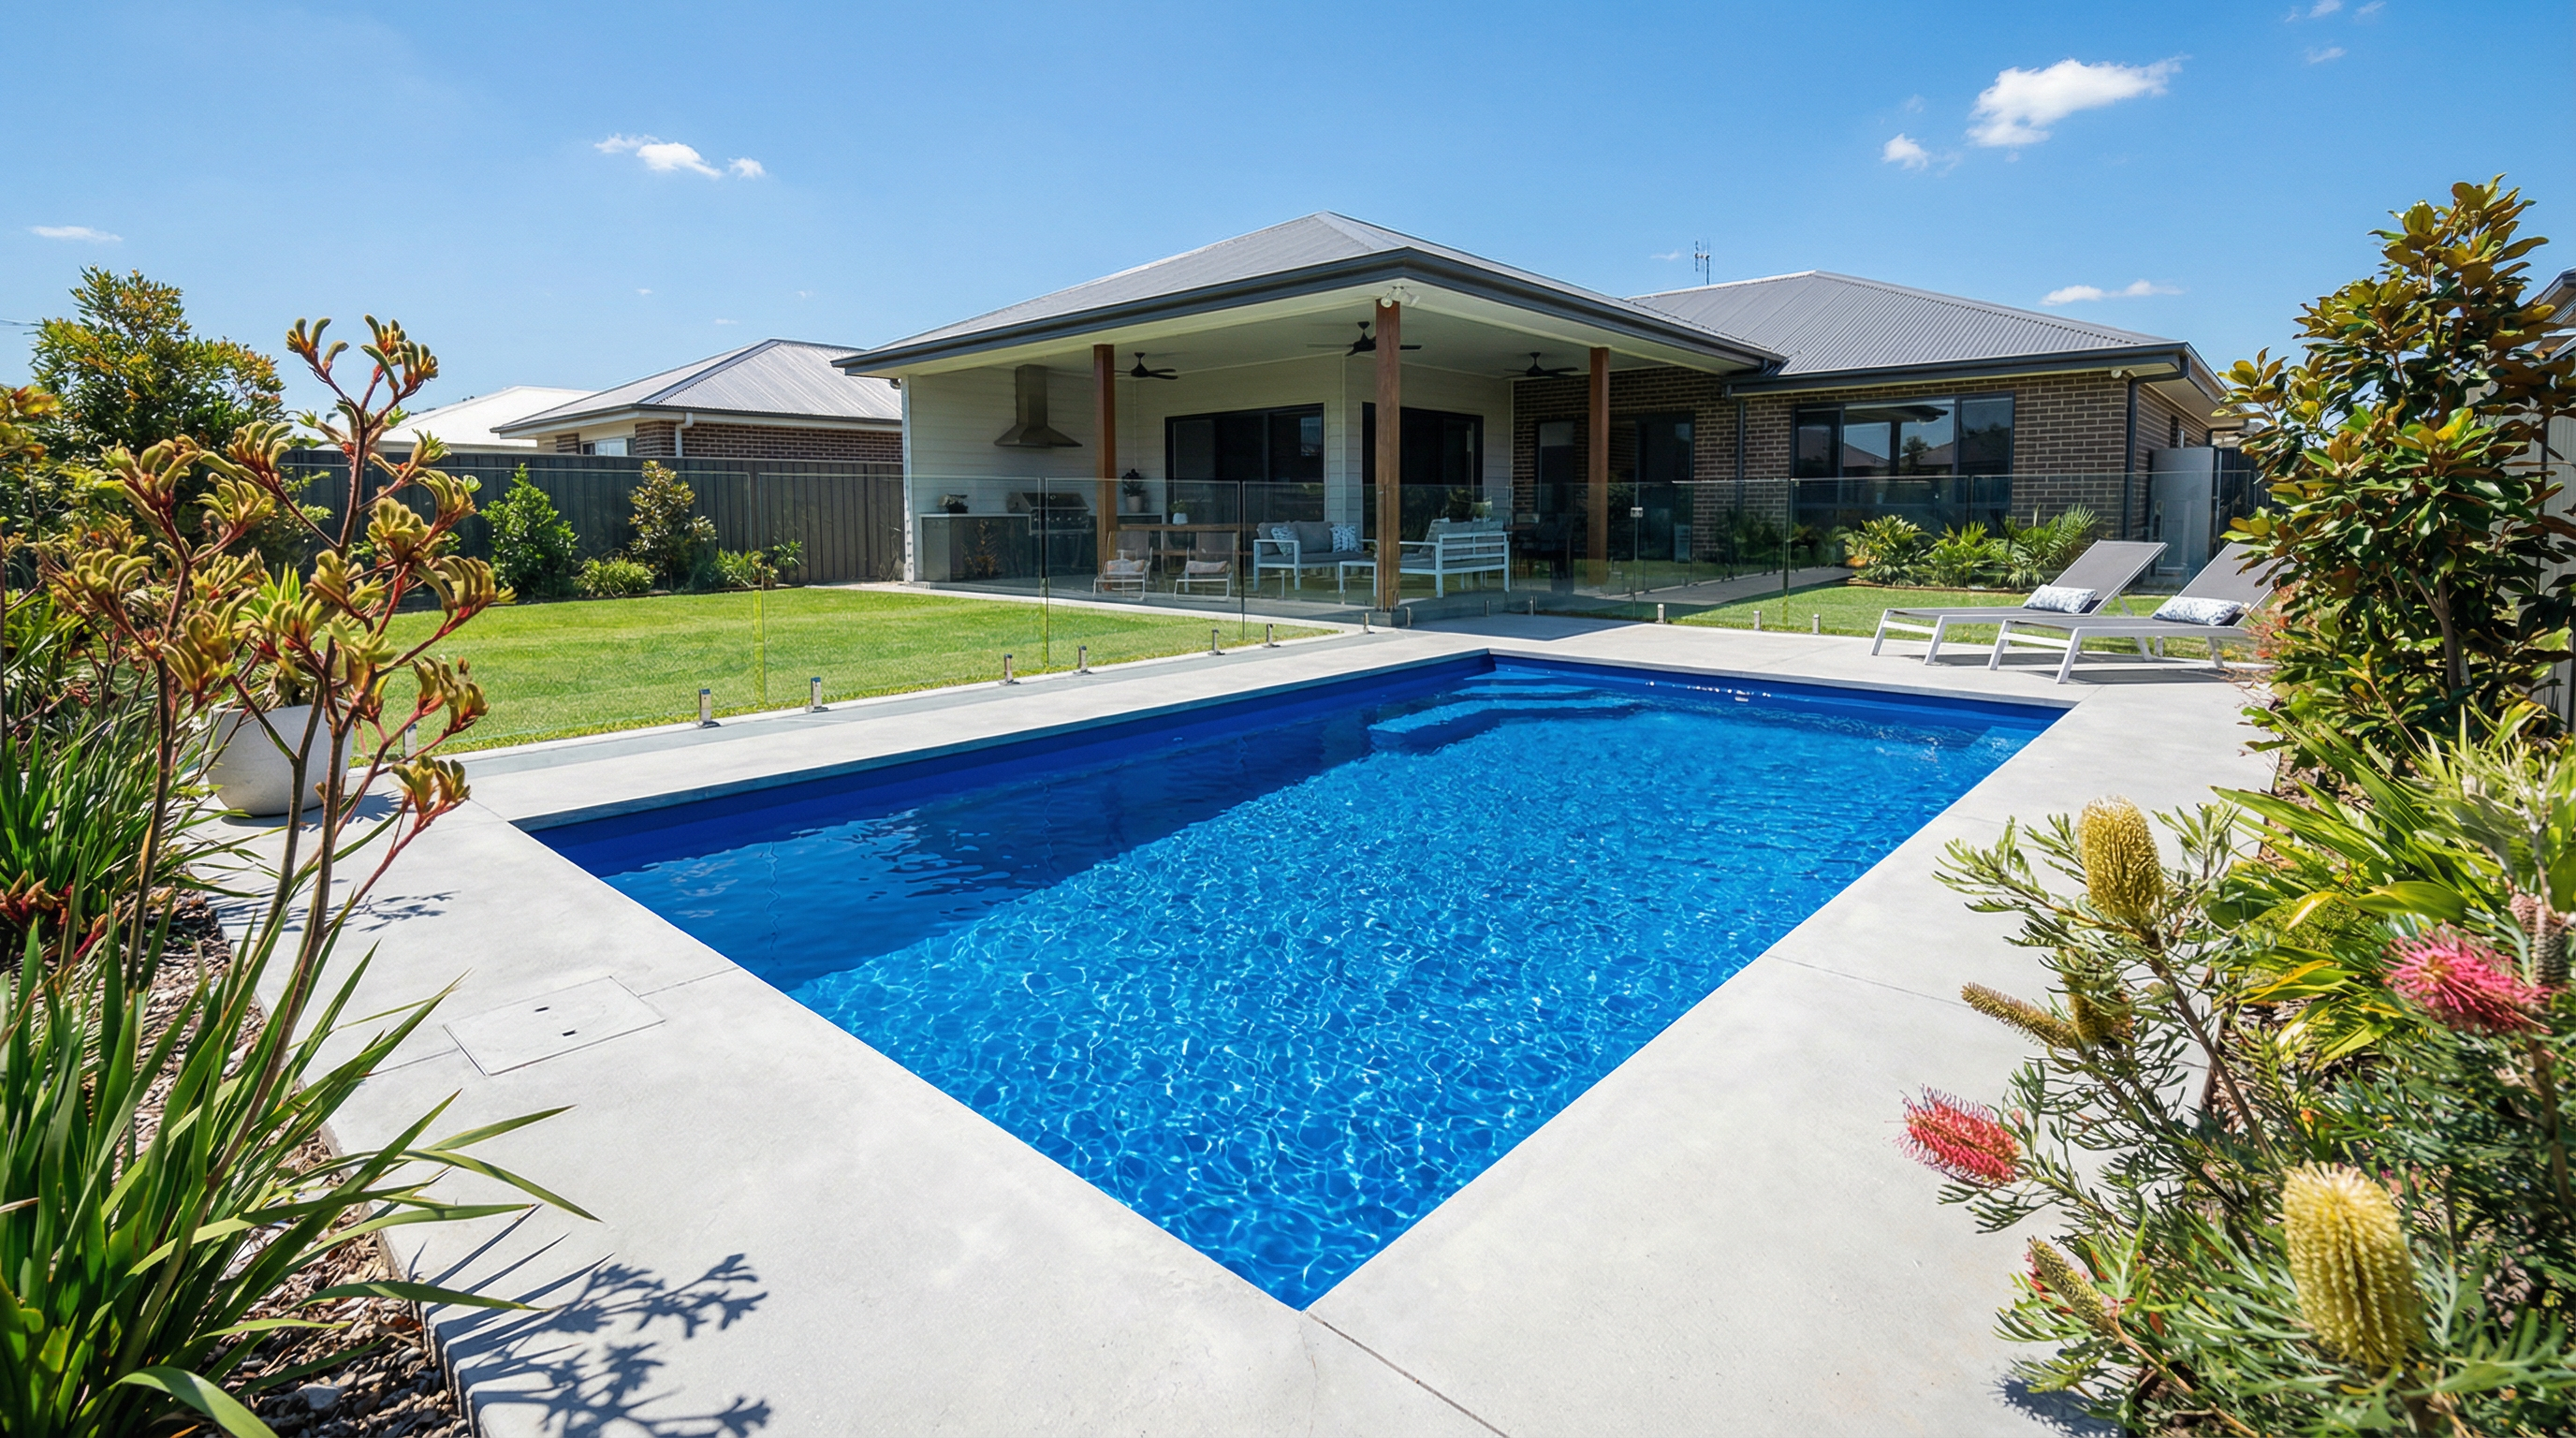
Week 6–8: Handover
Your installer walks you through the completed pool and provides:
- Equipment operation demonstration
- Water chemistry guidance
- Warranty documentation
- Handover pack with all manuals
The certifier issues the Occupation Certificate, and you're ready for your first swim!
Tips for a Smooth Installation
- Communicate regularly with your installer — ask for weekly updates
- Be flexible with weather delays — they're unavoidable
- Keep neighbours informed — especially about crane day
- Protect your lawn — machinery will damage grass; plan for restoration
- Have your water ready — you'll need a significant amount of water to fill the pool
Found this useful? Share it with friends or family planning a pool in Greater Sydney.
Disclaimer: The information in this article is general in nature and is provided for educational purposes only. It does not constitute professional advice. Always consult a licensed pool builder, private certifier, or relevant professional before making decisions about your pool project.
Ready to Get Started?
Connect with trusted fibreglass pool installers in Greater Sydney and get free, no-obligation quotes.
Get Free Quotes